Our menu interactions allow you to define the structure of your project, allowing your learners to choose their own route through your content.
To help you structure your projects effectively we've put together five top tips and examples.
These demonstrate how to set-up a non-linear course and how you can use the menu in different ways to lead learners through your content.
A consideration before you start...
It's important to consider whether a non-linear structure works with your desired flow.
If you want to force your learners to view your content in a fixed order then a non-linear structure may not be the right option for you. Menus work most effectively when your course flow is open and your learners can decide what chapters they'd like to visit and in what order.
That's not to say that you can't set certain chapters to 'unlock' as learners move through the content, or have particular completion requirements within chapters. We will explore the available options for both of these requirements later in this guide and have included some working demos to show them in action.
We'd advise reading Overview: Page Progression to find out more about how linking works in conjunction with locking.
1. Select the menu interaction that works best for your content
There are five different menu interactions in Elucidat and the one you opt for will depend on the structure of your module, how your chapters link together and whether you want to give your learners additional information before they dive into a topic.
The menu interactions are grouped into two key categories:
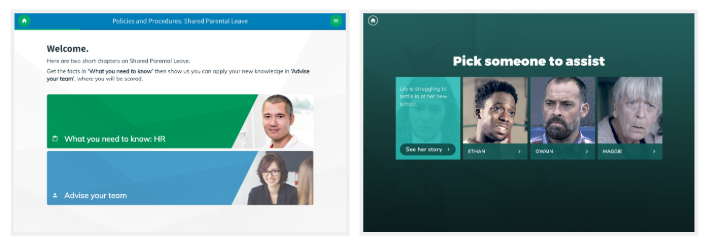
- Image grids: An easy to configure layout that enables you to set up a number of individual image cards with text labels to represent each topic. Perfect if you have an image or icon for each topic.
- Image explorer: Perfect if you have a visual image that can tie together your topics in a meaningful way.
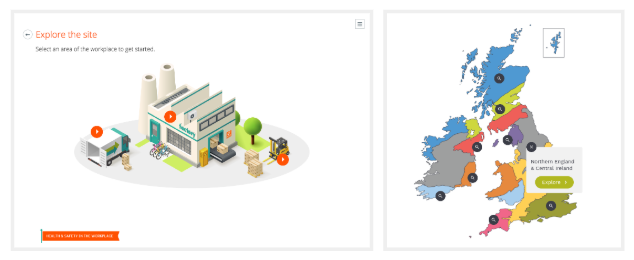
Both of these categories have options for revealing additional information about your chapters, either via pop-up boxes or image overlays, so that you can give your learners some extra information about each chapter to help them decide where to go.
2. Set up chapters to show progress
Setting up Chapters has several benefits for a non-linear course:
- Pages will be grouped clearly in the slide-out project menu, making it easy for learners to see where they are within the learning experience.
- You can apply Rules and Timers to a whole chapter, which is faster than applying them to individual pages.
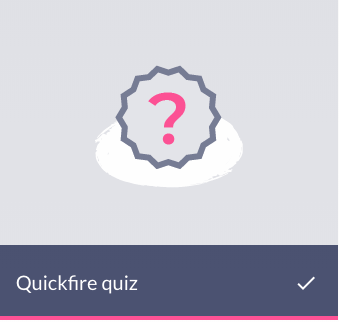
- It enables the standard Image Grid menu to visualise progress through the chapters via the progress bar and tick icon. The stages of this progress are visualised below.
Unopened chapter
Progress bar is empty. Icon shows as arrow.
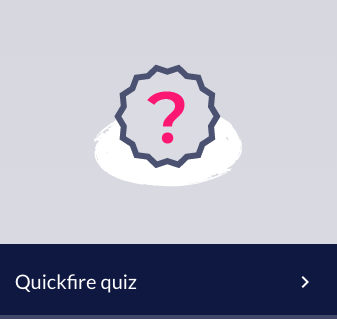
In progress chapter
Progress bar is partially full. Icon shows as arrow.
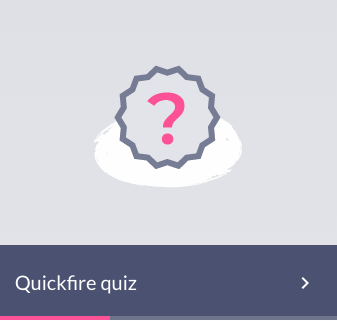
Completed chapter
Progress bar is full. Icon changes to tick.
3. Think twice about global progress indicators
It's possible in Elucidat to add global progress indicators in the header and footer to show progress through the project as a whole. The options for this are as follows:
Progress bar

Page counter

Percentage indicator

These are based on the linear structure of pages, so are great in linear courses for showing your learners how far through the experience they are.
However they don't work as effectively with non-linear courses, as when topics are accessed in a non-linear order the progress will jump forwards and back and become less meaningful.
4. Make sure navigation buttons are all clearly guiding your learners through the experience
Global Back and Next buttons are often used in the header or footer of projects for a consistent navigation approach across a whole project.

By default these buttons move learners forward and back through the linear list of pages by using automatic linking to the next or previous page.
However, in non-linear courses this could become confusing to learners as they might navigate to a chapter from the menu and then select the back button and end up on the page at the end of the previous chapter in the linear flow of pages.
We'd recommend overriding the automatic Back navigation on the first page of each chapter and instead linking directly to the menu, as follows:
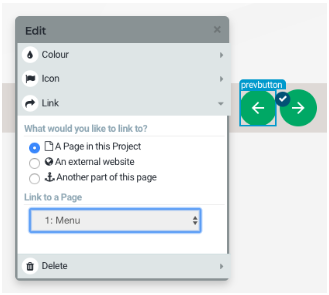
This will help learners stay orientated within the experience as a whole.
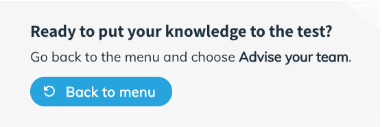
It's also worth considering what happens at the end of each of your chapters. Do you want learners to move straight onto the next chapter in the linear sequence? Or perhaps return to the menu to choose another topic?
You can use Layout to add custom link buttons to your pages, which is great for leading learners in a more guided way than with the global navigation:
5. Use Rules to reveal chapters when your learners are ready
It might be that you want to have some control over the order that learners view your topics in. Some common examples include:
- Unlocking a final assessment or summary chapter once all other topics have been completed
- Revealing chapters one at a time to enforce an order the first time but allow revisiting of topics
Both of these approaches are possible using Rules.
You can apply a rule to the first page in each chapter so that the whole chapter only becomes available when certain conditions have been met. As an example, here's a rule applied to the first page in the assessment section of this demo project:
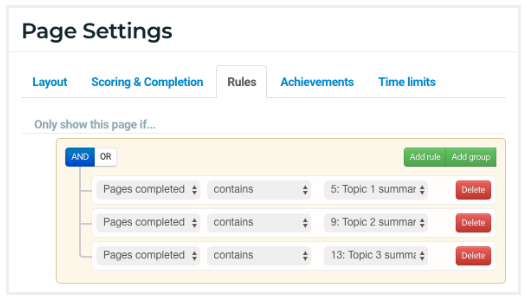
Image shows a rule that shows the page is set to only show once the last page in each of the three previous chapters has been completed.
These rules are flexible and can be tailored to your specific needs so they could be based on someone completing a page, achieving a certain score, or answering a question in a particular way.
You can also tailor your menu buttons so that they only appear when the chapter they link to becomes unlocked, using the checkbox shown here under the Link control:
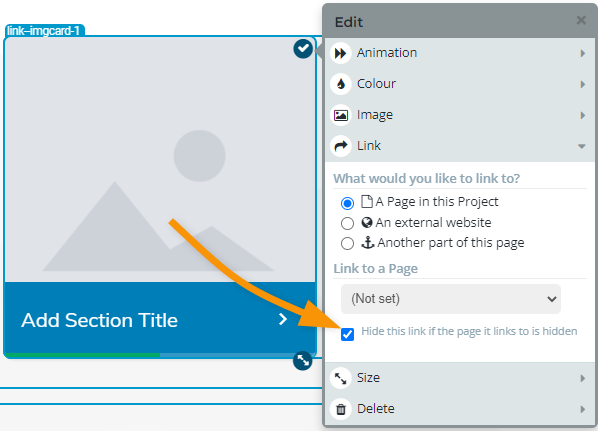
This means that only available chapters are shown on the page, making it clearer to your learners the routes available to them.
Here are some working demos showcasing some approaches for controlling progress and revealing chapters to show just some of the possibilities:
- Unlock a final chapter once all topics are complete
View demo
Great for unlocking an end of module quiz or summary page. This demo also shows how you can apply page-level completion settings within each chapter to prevent someone progressing past a page without interacting with the content. - Unlock a final chapter once one topic is complete
View demo
This approach can be useful if you have a number of case studies or scenarios but don't require learners to access them all to complete the module. - Reveal chapters one at a time
View demo
Useful for enforcing an order the first time a learner visits the module, whilst still allowing them to freely revisit completed chapters.