Using a Buildup Menu interaction is an effective way to display a sequence of events to your users, allowing them to reveal the next step in the process with a series of clicks.
Adding a Buildup Menu
1. Open the page in your course where you would like to add the Buildup Menu.
2. In Layout, navigate to the position on the page where you would like to add the Buildup Menu and click the Add here button.
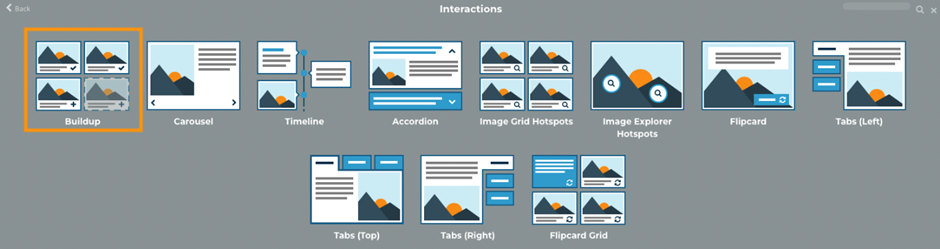
3. Select Interactions:

4. Select Buildup:
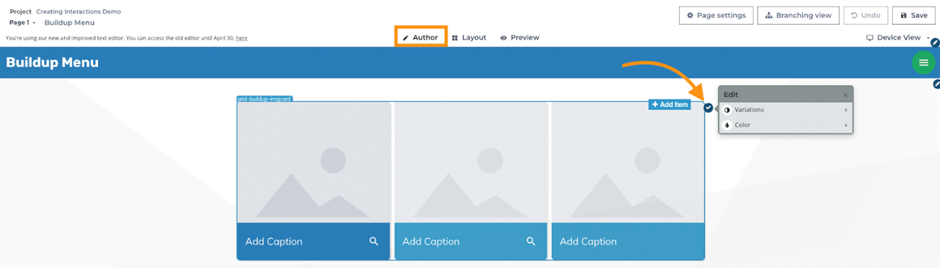
5. Three menu items will be added to the page by default. Click the Save button to save the changes.
Buildup Menu Settings
In Author, the settings for the Buildup Menu can be found by clicking on the variations menu on the top right of the interaction:
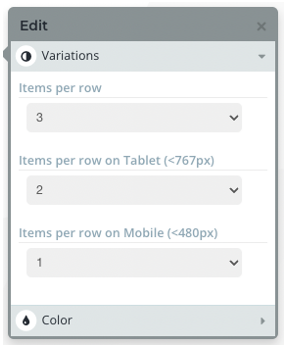
Under Variations you can select the maximum number of Items per row you would like to be displayed for the Buildup Menu before a new row is created. This setting can also be configured for Tablet and Mobile device screen sizes:
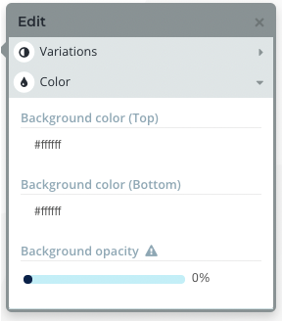
Under Color you can set the Background color and Background opacity settings for the menu container:
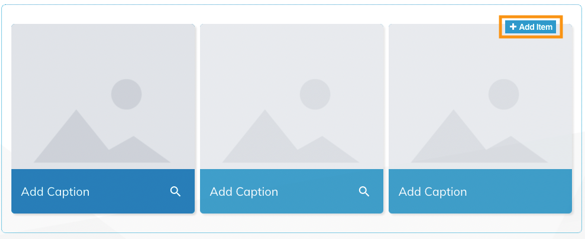
To add more menu items to the Buildup Menu, in Author click the + Add Item button on the top right of the interaction:
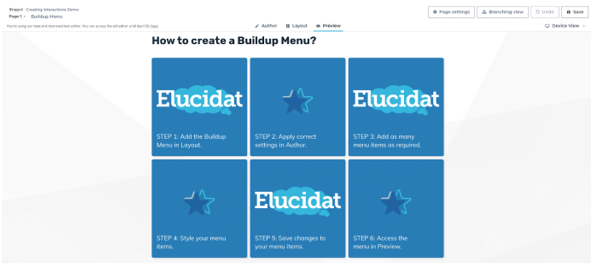
Buildup Menu Example
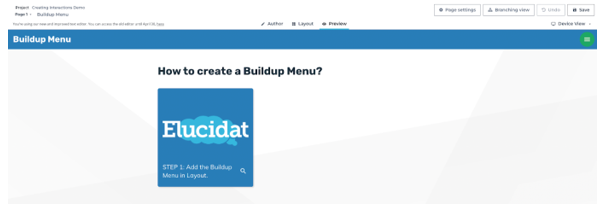
Here is a typical example of how a Buildup Menu is often used in courses. The example provides a step-by-step guide to adding a Buildup Menu to a course. In Preview only the first menu item will appear:
Clicking on the item will then reveal the next item in the sequence:
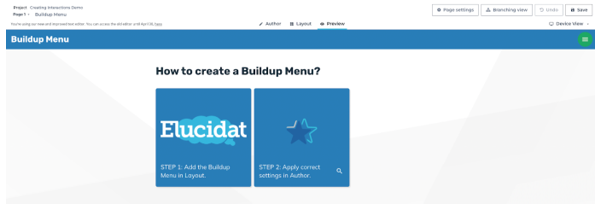
This will continue until all the items are revealed: